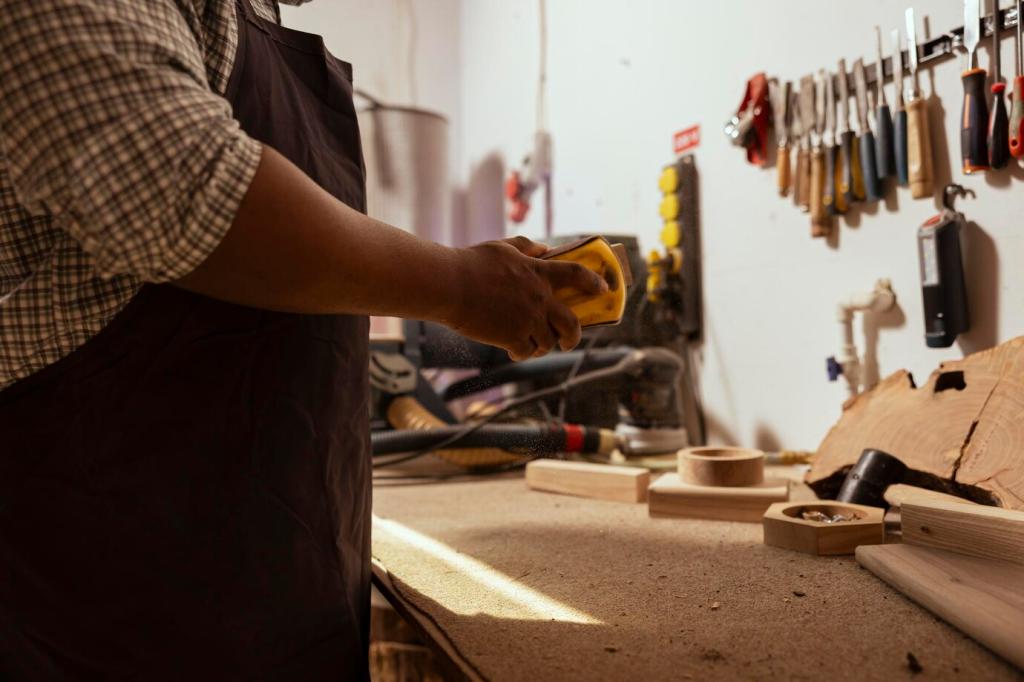
Start Smart: Foundations for DIY Carpentry at Home
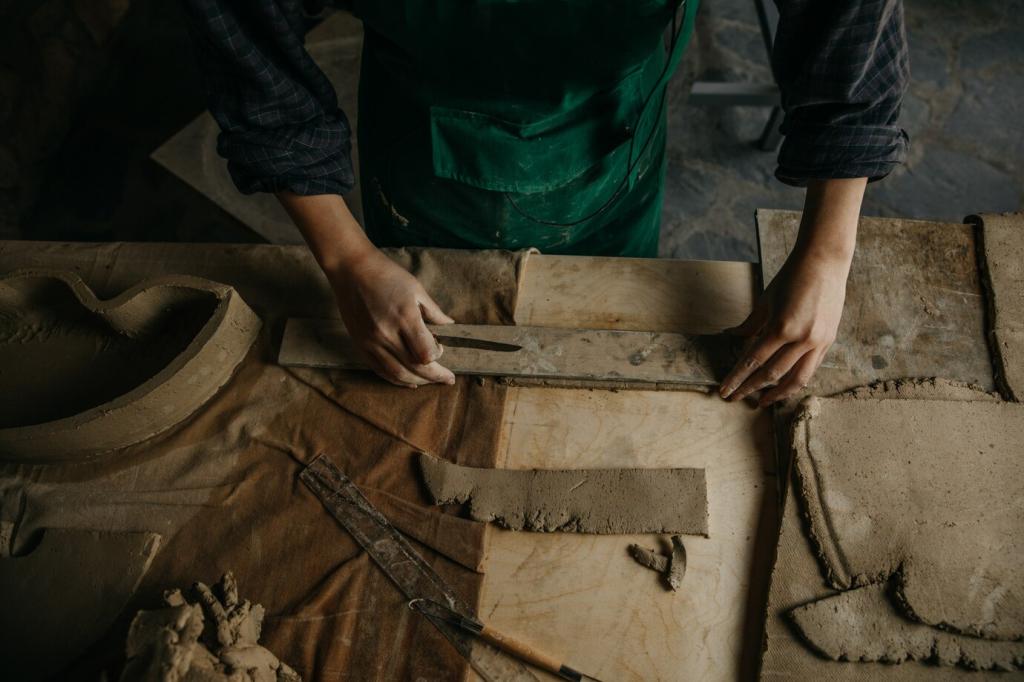
Begin with a tape measure, speed square, circular saw, drill driver, sander, chisels, clamps, and a reliable work surface. Add safety glasses, hearing protection, and a respirator for dust. With these essentials, you can tackle shelves, benches, boxes, and beyond without feeling overwhelmed or underprepared.
Start Smart: Foundations for DIY Carpentry at Home
Create a simple cut list, sketch a quick plan, and label each board as you go. Dry fit parts before glue. I once mis-measured a shelf by half an inch and learned to laugh, take notes, and improve the plan. Share your planning wins and fails in the comments.